A guide on how to clean your dog’s ears
Understand the importance of cleaning your dog’s ears
Your dog’s ear health is a fundamental aspect of responsible pet care. Regular ear care is not only about keeping your dog comfortable but also preventing potential ear issues that could cause discomfort, pain, and even hearing loss if not properly managed.
Clean ears help prevent ear infections by removing moisture, debris, and wax. This reduces the risk of discomfort and itching, contributing to your dog’s well-being. Plus, regular ear cleaning can lead to early detection of issues and improved hearing.
Common ear problems in dogs
Dogs can experience common ear problems, including infections, ear mites, excessive wax buildup, allergies, and foreign objects in the ear canal. These issues can lead to itching, swelling, and discomfort. Understanding these problems can motivate you to maintain a routine for caring for your dog’s ears and keeping them healthy.
Gathering the right tools and supplies to clean your dog’s ears
Remember to always contact your vet before cleaning your dog’s ears.
Before you dive into cleaning your dog’s ears, double-check that you’ve got everything you need. Here’s a handy list of items to have ready before you begin:
Cotton Balls or Pads: These soft and absorbent materials are perfect for delicately removing dirt and excess cleaning solution from your dog’s ears.
Ear Cleaner: Opt for an ear cleaning solution recommended by your veterinarian, specifically designed for dogs. It’s essential to avoid using alcohol or hydrogen peroxide, as these can be harsh and potentially harmful to your pet’s ears.
Ear Syringe or Bulb: These tools can be valuable for gently flushing out ear canal debris, but it’s important to use them only as advised by your veterinarian.
Towels or Wipes: Keep these readily available for tidying up spills or messes that may occur during the ear cleaning process.
Treats or Rewards: To encourage your dog’s cooperation during the ear cleaning procedure, having their favourite treats on hand can serve as a delightful incentive. This can make the experience more positive and less stressful for your furry friend.
Preparing your dog for ear cleaning
Before you clean your dog’s ears, it’s important to get your dog ready for a positive and stress-free experience.
To ensure your dog is comfortable during the ear cleaning process, start by selecting a quiet, well-lit, and comfortable area with minimal distractions. Make ear cleaning a positive experience by rewarding your dog with treats, praise, and affection. Spend some time petting and soothing your dog before you begin, as this can help them relax and cooperate.
Additionally, get your dog accustomed to ear handling by gently touching and massaging their ears regularly, even when cleaning isn’t necessary. This familiarity can ease their apprehension and make the process smoother.
Safety precautions are crucial when cleaning your dog’s ears. First, make sure your dog is comfortably and securely restrained, especially if they tend to be fidgety or anxious during ear cleaning, to prevent accidental injuries. Never insert cleaning tools deeply into the ear canal; clean only in the visible external part to protect the delicate inner ear structures.
Handle your dog’s ears gently and with care, avoiding sudden or forceful movements. If your dog seems stressed or uncomfortable during the process, it’s a good idea to take short breaks to reduce anxiety and ensure their comfort.
Step-by-step guide to dog ear cleaning
After you have prepared your supplies, positioned your dog correctly to get a good view of the ear and inspected the ears for anything unusual, it is time to begin cleaning. Here is a step-by-step guide to dog ear cleaning:
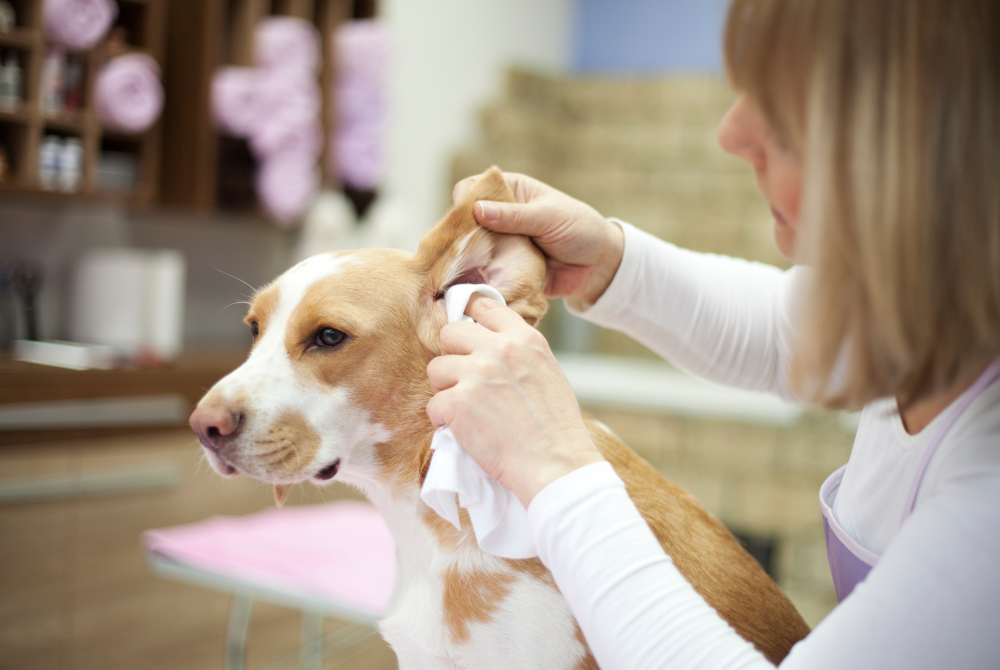
- Apply Cleaning Solution: Gently lift your dog’s ear flap to reveal the ear canal. Use a steady hand (and gloves if needed) to apply a small amount of the recommended cleaning solution to the visible part of the ear.
- Massage the Base: Tenderly massage the base of the ear for about 30 seconds. Listen for a squishing sound, signalling that the solution is working to loosen wax and debris.
- Let Your Dog Shake: Allow your dog to shake their head to help dislodge loosened dirt and solution. Keep some towels handy for any mess.
- Wipe Away Debris: Use a cotton ball or pad to softly remove any visible debris, wax, or excess solution from the outer ear. Avoid inserting it too deeply.
- Repeat if Needed: If the other ear needs cleaning, repeat the process, always using a fresh cotton ball or pad.
- Reward and Reassure: Show appreciation for your dog’s cooperation by giving them treats, praise, and affection after the cleaning is done.
Recognising signs of ear problems in dogs
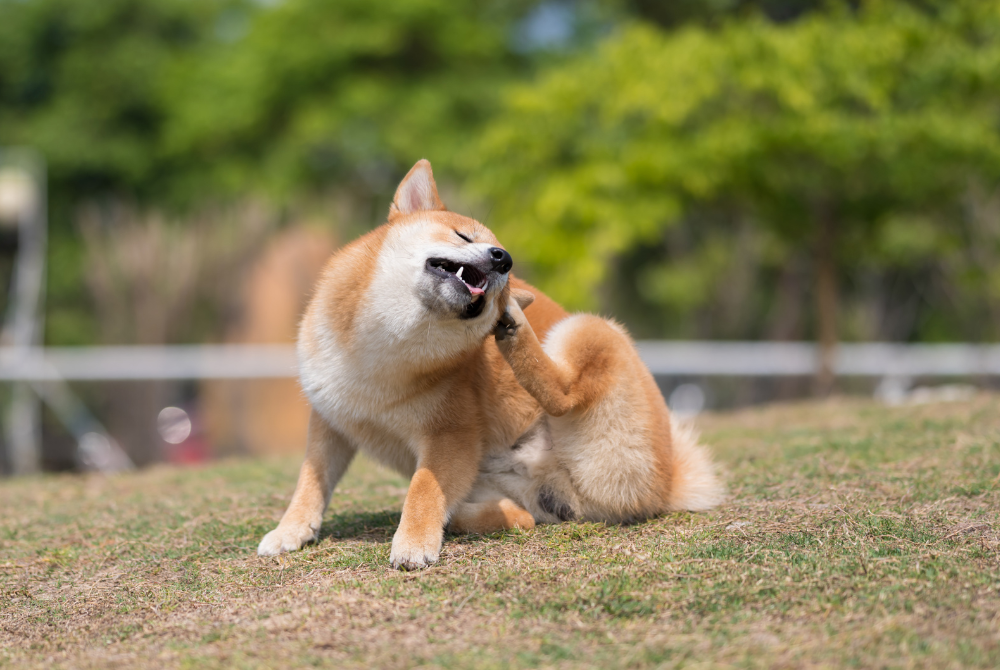
It’s important to watch for signs of ear problems in your pet. Common symptoms of ear issues can include:
- Ear Scratching: Frequent ear scratching may mean discomfort or irritation.
- Head Shaking: If your dog shakes their head excessively, especially alongside scratching, it could signal ear trouble.
- Odour: Foul smells from the ears may suggest infection or other issues.
- Discharge: Any ear discharge, whether it’s wax, pus, or blood, should be checked.
- Redness and Swelling: Inflamed or swollen ears, often with redness, can indicate underlying problems.
- Tilting Head or Holding It to the Side: A tilted head may point to inner ear issues.
- Hearing Loss: If your dog responds differently to sounds, it might signal ear problems.
Conclusion
Taking care of your dog’s ears is vital for their well-being. Understand its importance, recognise common symptoms of issues, and prepare for ear cleaning with the right tools. Different breeds have unique needs, so adjust your approach accordingly. Regular cleaning and early issue detection are key. Watch for concerning symptoms and consult a vet for a healthy, happy pet.